Your Cart is Empty
Foundationless Brood Frames
Why foundationless is fabulous
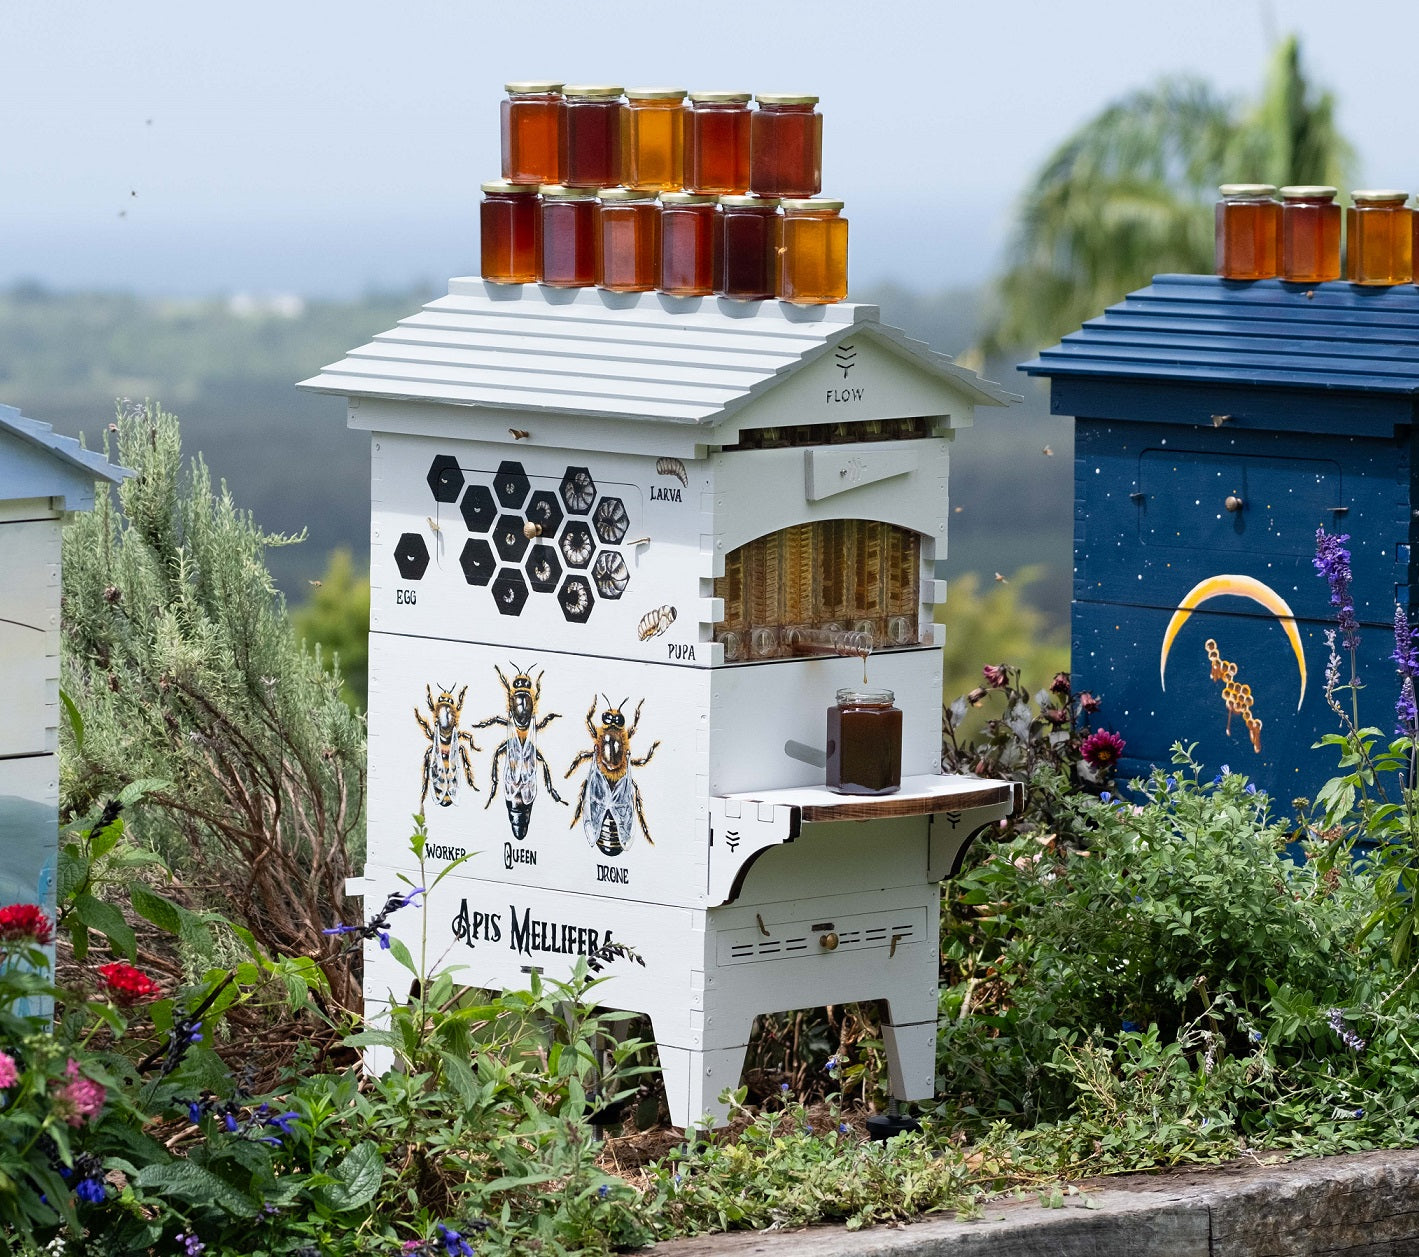
If you are a new beekeeper, you might not have realised how wonderfully subversive it was to receive your Flow Hive brood box without foundation inserts. These pre-fab, plastic or beeswax, comb-stamped sheets are a standard in beekeeping equipment. They are usually accepted and used by new beekeepers without question. Some mistakenly believe that they are a necessity for comb building despite the fact that honey bees have been building their own natural comb without the help of beekeepers for millions of years!
The Benefits of Foundationless Beekeeping
Throwing out your foundation can be met with more controversy than you might expect. You may have already been urged by other beekeepers not to try foundationless frames or been warned that doing so would negatively impact your bees. It’s true that foundationless beekeeping requires more effort on the part of the beekeeper and the bees, but for me, the pros far outweigh the cons. So, what are some of the benefits of natural comb?
It’s what the bees want.
When you give bees the choice, they will always choose empty frames where they can build natural comb, over foundation frames. For me, this is the most compelling reason to ditch foundation and let the bees build their own comb. My beekeeping philosophy is to let the bees decide and trust that bees know best whenever possible.
Cleaner beeswax.
Wax foundation is made from recycled commercial beekeeper’s beeswax. Studies have shown them to be heavily contaminated with agricultural pesticides and miticides. Pesticides bond easily to the oils in beeswax and can build up over time. These chemical contaminants have been shown to disrupt bee development and lifespan as well as an increase incidences of queen failures.
Natural cell size is healthier for bees.
Foundation forces the bees to build abnormally large cells and results in equally larger bees. There is an increasing body of research that suggests this can contribute to health complications for the bees, which might explain why bees naturally build smaller cell sizes and will regress to this smaller size over time. Why fight nature?


Challenges of Foundationless Beekeeping
Less honey?
You might have heard from experienced beekeepers that you shouldn't practice foundationless beekeeping because it will result in less honey. This claim is made for a couple of reasons, but none of them are relevant to the Flow Hive! So, pay them no mind.
Comb breakage?
If you plan to go foundationless, it just takes a little effort and care to handle your frames in such a way that they do not break. The main thing is not to tip your frames during inspections. This will put strain on the combs. Instead, hold them straight up and down.
Cross comb?
The most important part of foundationless beekeeping is getting the bees to build straight combs. Once you remove the foundations, there’s nothing stopping the bees from building in any direction they please. More often than not, they will build across multiple frames if you give them the chance. The result is that you will have a very hard time pulling up frames without destroying comb and angering your bees. You can avoid this (mostly) by installing comb guides!

Making & Installing Comb Guides
If you’ve purchased the complete Flow Hive, your brood box frames came with comb guides! These guides are wooden strips that run the length or your frame and fit nicely in the groove at the top. I recommend you coat them with beeswax and nail them in place for the best results. These guides are more or less permanent and should help keep your bees building straight for years to come. However, if you wish to add an additional brood box or maybe you’ve purchased only the Flow Super, you need to make your own comb guides.
Materials:
- Grooved or slotted frames
- 14 ” Paint Stirrer Sticks
- 1” nails
- Hammer
- Beeswax (remember to source chemical-free wax)
- Small paint brush
- Beeswax melting container
Step One:
Gather your paint sticks, beeswax, paint brush and melting canister around your stove top. Start by melting your beeswax in something you don’t care much about, like a metal can! Warning: beeswax is flammable so do not leave it unattended and use a double boiler if you want to play it safe.
Step Two:
Use your paintbrush to apply the wax along your paint stick. Coat both sides about halfway up. No need to coat the entire thing since only half of it will be exposed. A single coat should be enough. If your wax cools too much, the wax will become tacky and hard to apply. Just turn the heat back on to return it to a paintable state.
Step Three:
Center and nail your paint sticks (beeswax half down) in the groove or slot at the top of your frame. Your paint stick should hang down about an inch. Note: If your paint sticks are shorter than 14″, you may need to use two. The 14″ sticks work just fine when centered because the gap on either end is small enough that bees are not tempted to cross. I use two nails on each end of the comb guide and give a small tug to make sure it is secure.
Fixing Cross-Combs
The best way to handle cross-combs is to avoid them in the first place with proper guides, but even they are not fail-proof. For this reason, I recommend you peek in on your bees once every two weeks while they are drawing out new comb in the brood box. It is much simpler to fix cross-combs if you catch them before it becomes too extensive.
Fixing mild cross-comb
In most cases, the bees will initially build straight and then flare out and connect to the neighboring frame. In this scenario, I recommend removing any empty or straight frames from the brood box to give yourself room to work on the crossed-comb. Separate the portion of the comb that has gone awry from the neighboring frame by cutting the comb away from the top, bottom and side of the frame. Pull this neighboring frame out of the way, and gently push the flared piece of comb into it’s correct frame. Use a rubber band to secure it in place. Once you have corrected the combs, you may want to reorder your frames to prevent more cross-combs. For example, you may move a frame where the comb has not been completely drawn out between two straight frames that have already been drawn. This boxes in the partially empty frame and will prevent the bees from building it crooked again.
Fixing advanced cross-comb
In extreme cases, you may find yourself with several frames or even an entire box of comb built perpendicular to the frames. Once again, your first step is to remove any empty of straight combs to give yourself room to work. If this cannot be done, you will need to break comb to pull out the first frame. Select one of the outer frames and smoke the area heavily to drive the bees out of harm’s way. Then pull the frame up the best you can. I am afraid there is no way to avoid destruction. You may want a container with a lid to place leaky, damaged combs. You will likely not be able to save them and are better off harvesting or discarding them. Now, you perform a bit of surgery. Try to make the least number of cuts to extract whatever straight pieces of comb that you can. Separate them entirely from the frames and then use rubber bands to secure them within the frames again, this time, going the proper direction. Once again, you may want to rearrange your frames to prevent further incidents of crossing. The trick is not to place two frames with gaps in the same place next to each other.
Hilary Kearney is a full-time beekeeper in her home town of San Diego, California. Her business Girl Next Door Honey provides educational opportunities for hundreds of new beekeepers each year. Her beekeeping exploits and unique business model have inspired people all around the world. She is the author of the beekeeping blog Beekeeping Like A Girl and maintains a popular Instagram account. When she’s not rescuing bees, teaching about bees, photographing bees or managing one of her sixty colonies, she’s sleeping and dreaming of bees.